Stripped Burman Gearbox Thread Repaired
Ready to go!
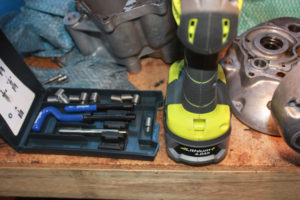
I wrote previously that I was pondering on the best way to repair the stripped drain plug thread on the Squariel’s Burman GB gearbox. I have never been a great fan of Helicoil type of wire inserts as I have seen many of them pulled out or otherwise failed over the years. However, after spending way too much time at the computer researching my options, given the tight confines that I had to work in as well as the shallow depth that I could drill out to, in the end, a Helicoil (or Helicoil clone as it turned out) came out as being the best option. It was easy to shorten by a couple of threads to give me the depth that I needed and I had minimal material to drill out which I was happy about.
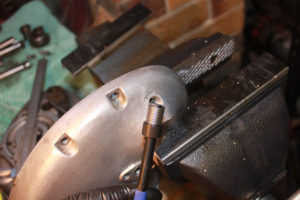
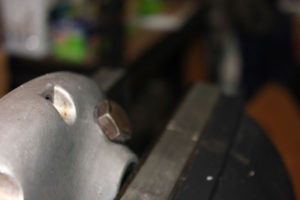
Measure twice, drill once is the old adage. Having not done a thread repair for many moons, it was more like measure 20 times, and gingerly drill once. The hole was on a funny angle so with no easy way to set it up in a drill press, I clamped the housing in my vice, tested the angle of the existing hole using the insert inserting tool then set some imaginary markers with the eyecrometer to ensure that I was drilling as close as possible to square with the hole.
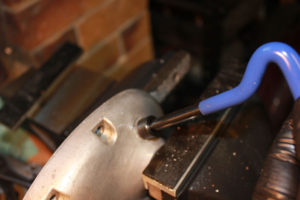
Inserting the insert
Aligned for drilling
Eyecrometer Test
As it turned out, my eyecrometer was running reasonably well on that day as the hole I drilled with the special drill included in the kit (did I mention that I had a buy a kit to do this job so I now have enough 7/16” wire inserts to last several lifetimes) was spot on. I was able to shorten the insert easily enough by cutting a couple of loops out of the insert. Installing it was easy enough using the installation tool provided in the kit. A generous splash of thread sealant will help it to remain oil tight. If it does, at least one part of the Ariel will be oil tight. No high expectations for the rest of the machine!
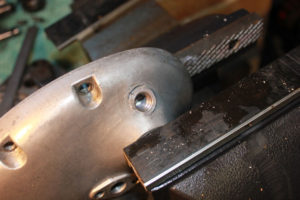
Insert inserted
Fitting the drain plug confirmed that I did a good job in getting my thread square much to my relief. After that, I cleaned up the casings with my new friend the bead blaster. Next a good blow out with air before washing the casings in white petrol to get rid of any dust. I then ran a tap through the casing threads to clean them out. I still need to access a press to facilitate removal and replacement of the bearings prior to gearbox reassembly.
Like a bought one