Pumping gas
A couple of people have seen my site now and have been asking for progress updates. One of the consequences of this, which was part of the intent of journalising this journey, is that it has kept pressure on me to keep moving forwards. With an ever-increasing stockpile of UK post satchels piling up on the shelf, I thought it about time to get clear some space and what better place to start than with the SU carburettor overhaul.
I recently purchased a glass bead blaster during a local machinery warehouse’s clearance sales. It has been sitting in a corner of the garage waiting for me to have something for it to do. This weekend, I decided that I needed to get at least one job finished and an overhaul of the carb seemed to meet the criteria of being doable in the time frame available and that also gave me a reason to set up the bead blaster.
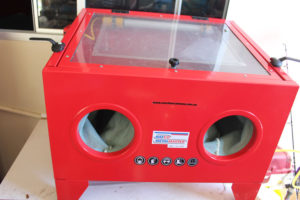
New toy.
My poor little Aldi compressor had a bit of a workout. Until now, all it has had to do is to pump up poolside inflatables and keep the car tyre pressures up to scratch. Well, that has certainly changed! Airflow is just enough for the small jobs but I am fairly certain that the neighbours were as happy as my family was when I finished. Just wait until I start blasting the crankcases!
I am very cautious about bead blasting engine parts but with suitable care in making sure everything is oil free and dry going in and careful cleaning after blasting, I am optimistic that there is no residue left behind that could cause damage to a fresh engine. Once I get the bike running, I will be sure to change all the fluids soon after first fire up.
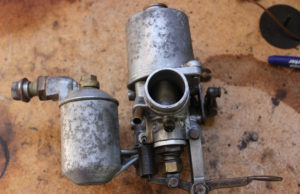
The SU carburettor overhaul went more smoothly than I had expected. After stripping and cleaning all of the component parts, I fitted a new main jet, jet needle, float needle and seat as well as replacing all seals and gaskets. I have been hands off tools for quite a while now and have not touched a bike for years so it was good to get the feeling back of doing something practical. I did have to revert to the parts diagrams a couple of times on the way back together and with help from the owner’s manual from Draganfly for things such as the basic float settings, I am optimistic that it will work as expected when its day cometh.
Well, OK, there was one small SNAFU. When I was cleaning up after the job, I found a note in the gasket kit advising that a cork seal needs to be soaked in oil for 24 hours before fitting. Doh! A small delay to the final, final assembly then.
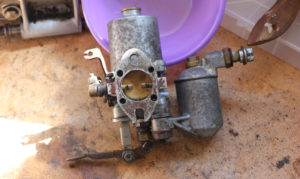
Before
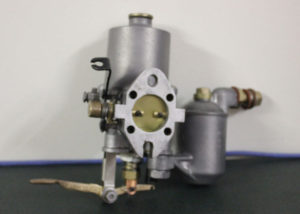
After
Before
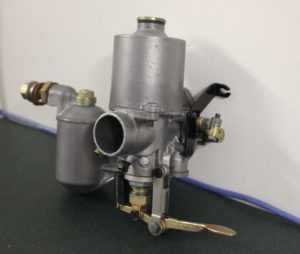
After
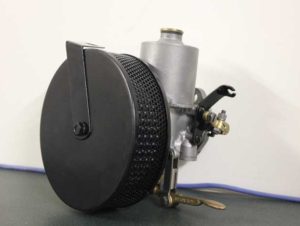
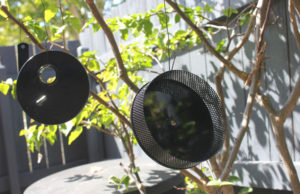
In a recent delivery from Draganfly came an air filter housing, for the SU carb, that was on backorder. I had one on the bike previously that I made myself (and it looked it!) way back in the day. It was functional but this one looks much more like the real deal. A quick trip to the spray booth and that is another job moving us closer to start up day.
The paint booth
Coming soon……
Last month Draganfly ran a special on a Burman gearbox service kit. Guess what my next entry to this blog will be about?