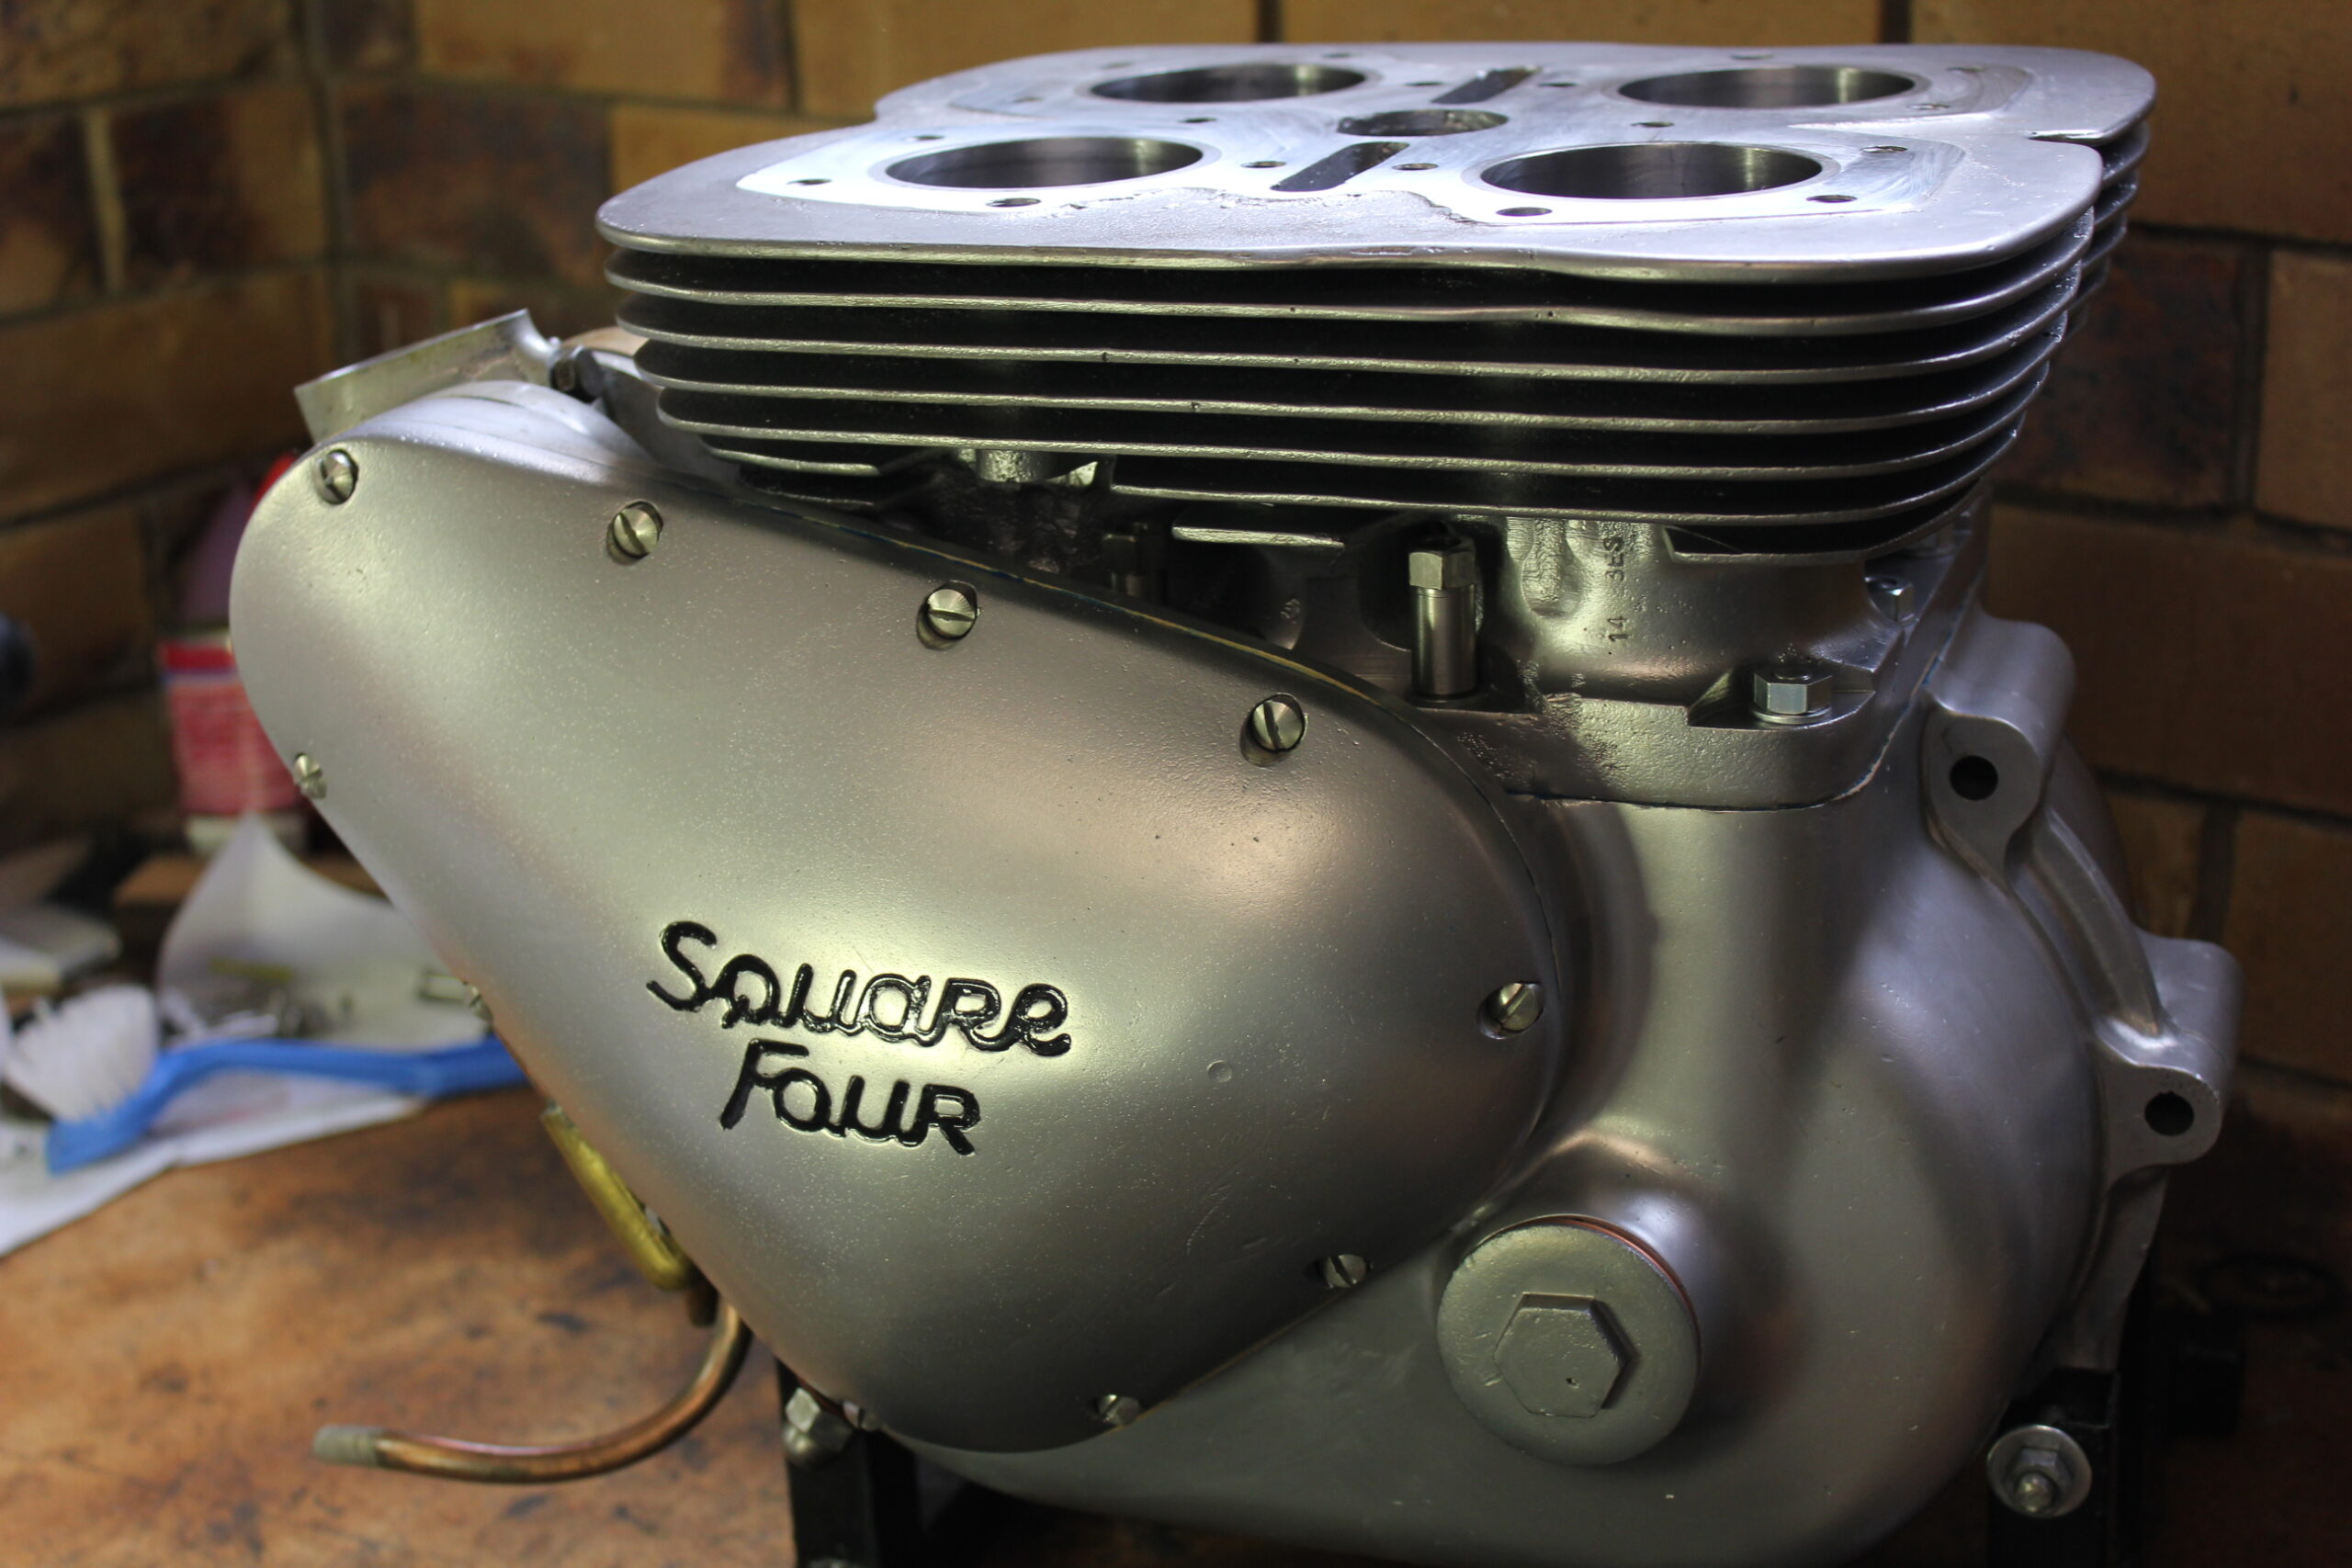
Bottom End Assembly
Ariel Square Four bottom end assembly is quite a broad statement. So what does it mean? There are three separate processes that we are covering off here.
- Setting crankshaft end float for both cranks. Then set main bearing clearances, fit the con rods to the crankshafts. Finally, assemble the crankcases with the con rods attached.
- Fit the pistons to the con rods. Gap the piston rings and fit the barrels to the crankcases.
- Setting the camshaft timing
Crankshaft End Float Revisited
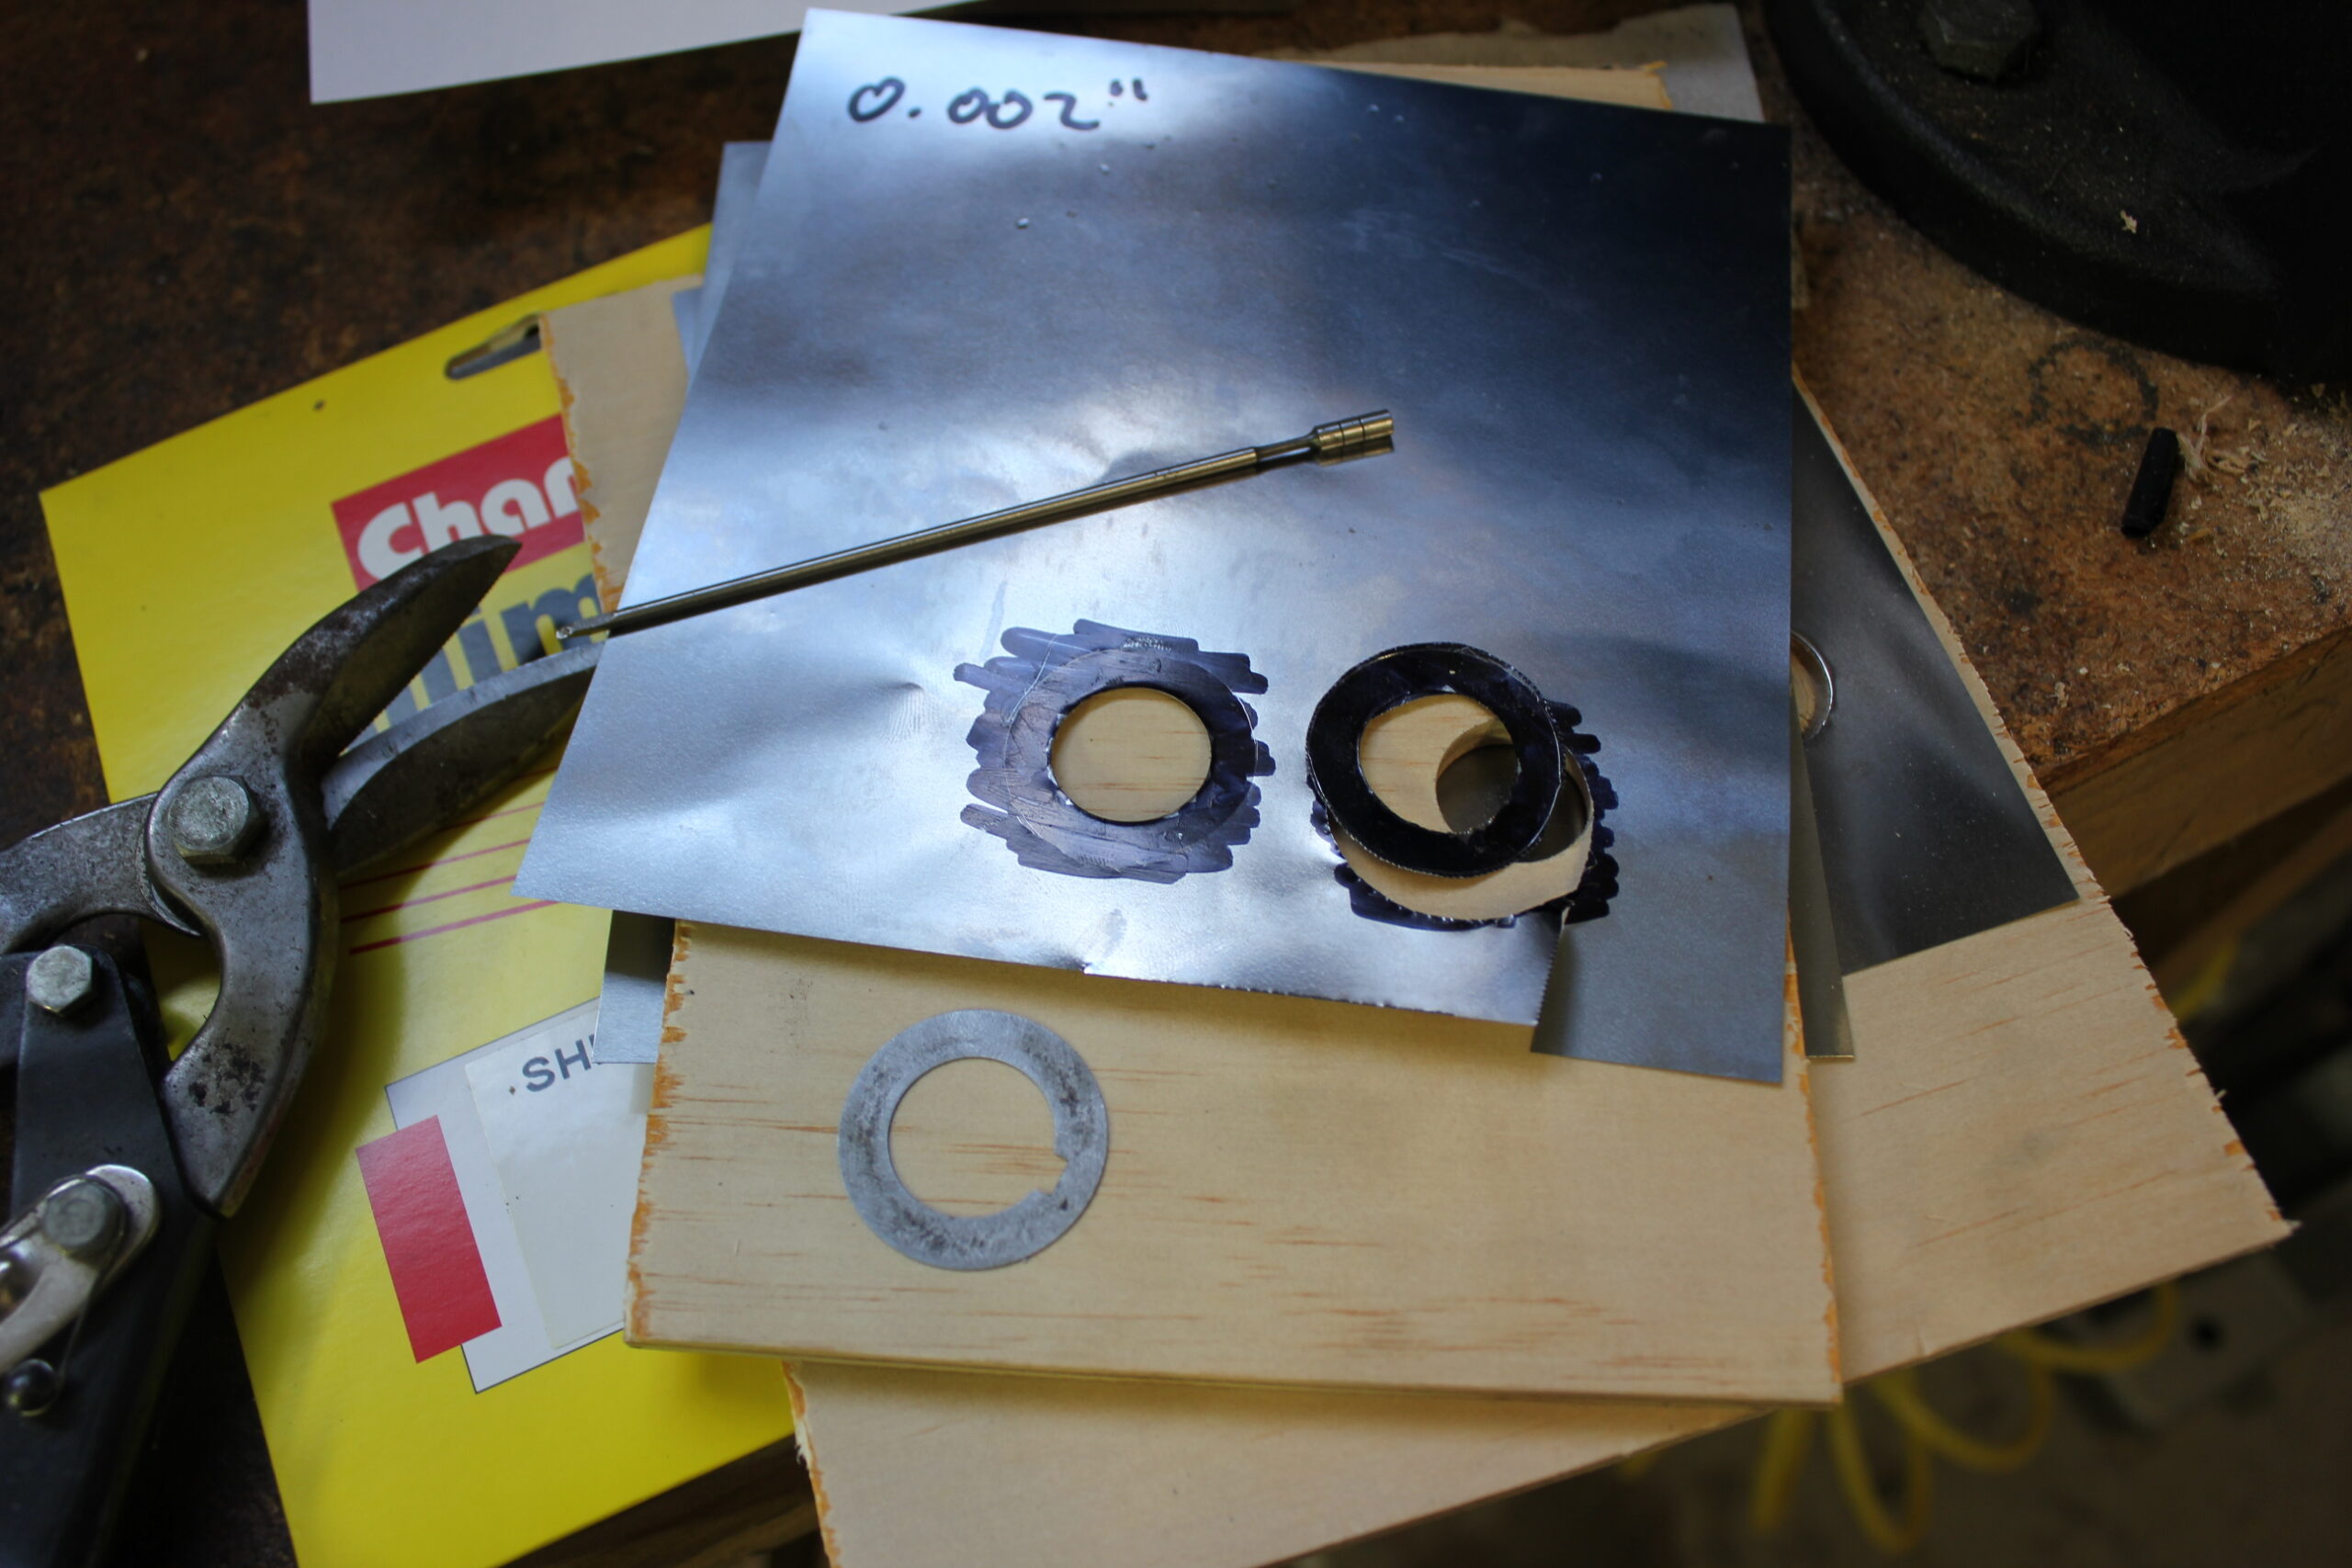
Crankshaft end float is set via shims on the ends of the crank shafts on the timing chain side of the engine. I added two steps to my engine stand for the magnetic DTI base. These had previously been checked but with using an inferior DTI base. I have purchased a better one and with the steps on my engine stand, this gives me a more accurate reading than before. I also was not 100% happy with the rear shimming so it was good to recheck. The front crank should see 0.003” – 0.004” while the rear crank expects 0.005” – 0.006”. New shims were not available so making a selection of shims seemed the easy option. Yes, you would think so. The best part of a day spent chasing shim stock later, and I was ready to make a selection of shims.

The shim story was the same each place I tried. We used to sell it but we have not sold any for years. I could have bought some shim stock online for about a third of the price that I paid for it. As usual, I wanted it now and not some unknown time in the future due to covid delays etc. So I handed over my hard earned and headed home with a packet of shim stock.
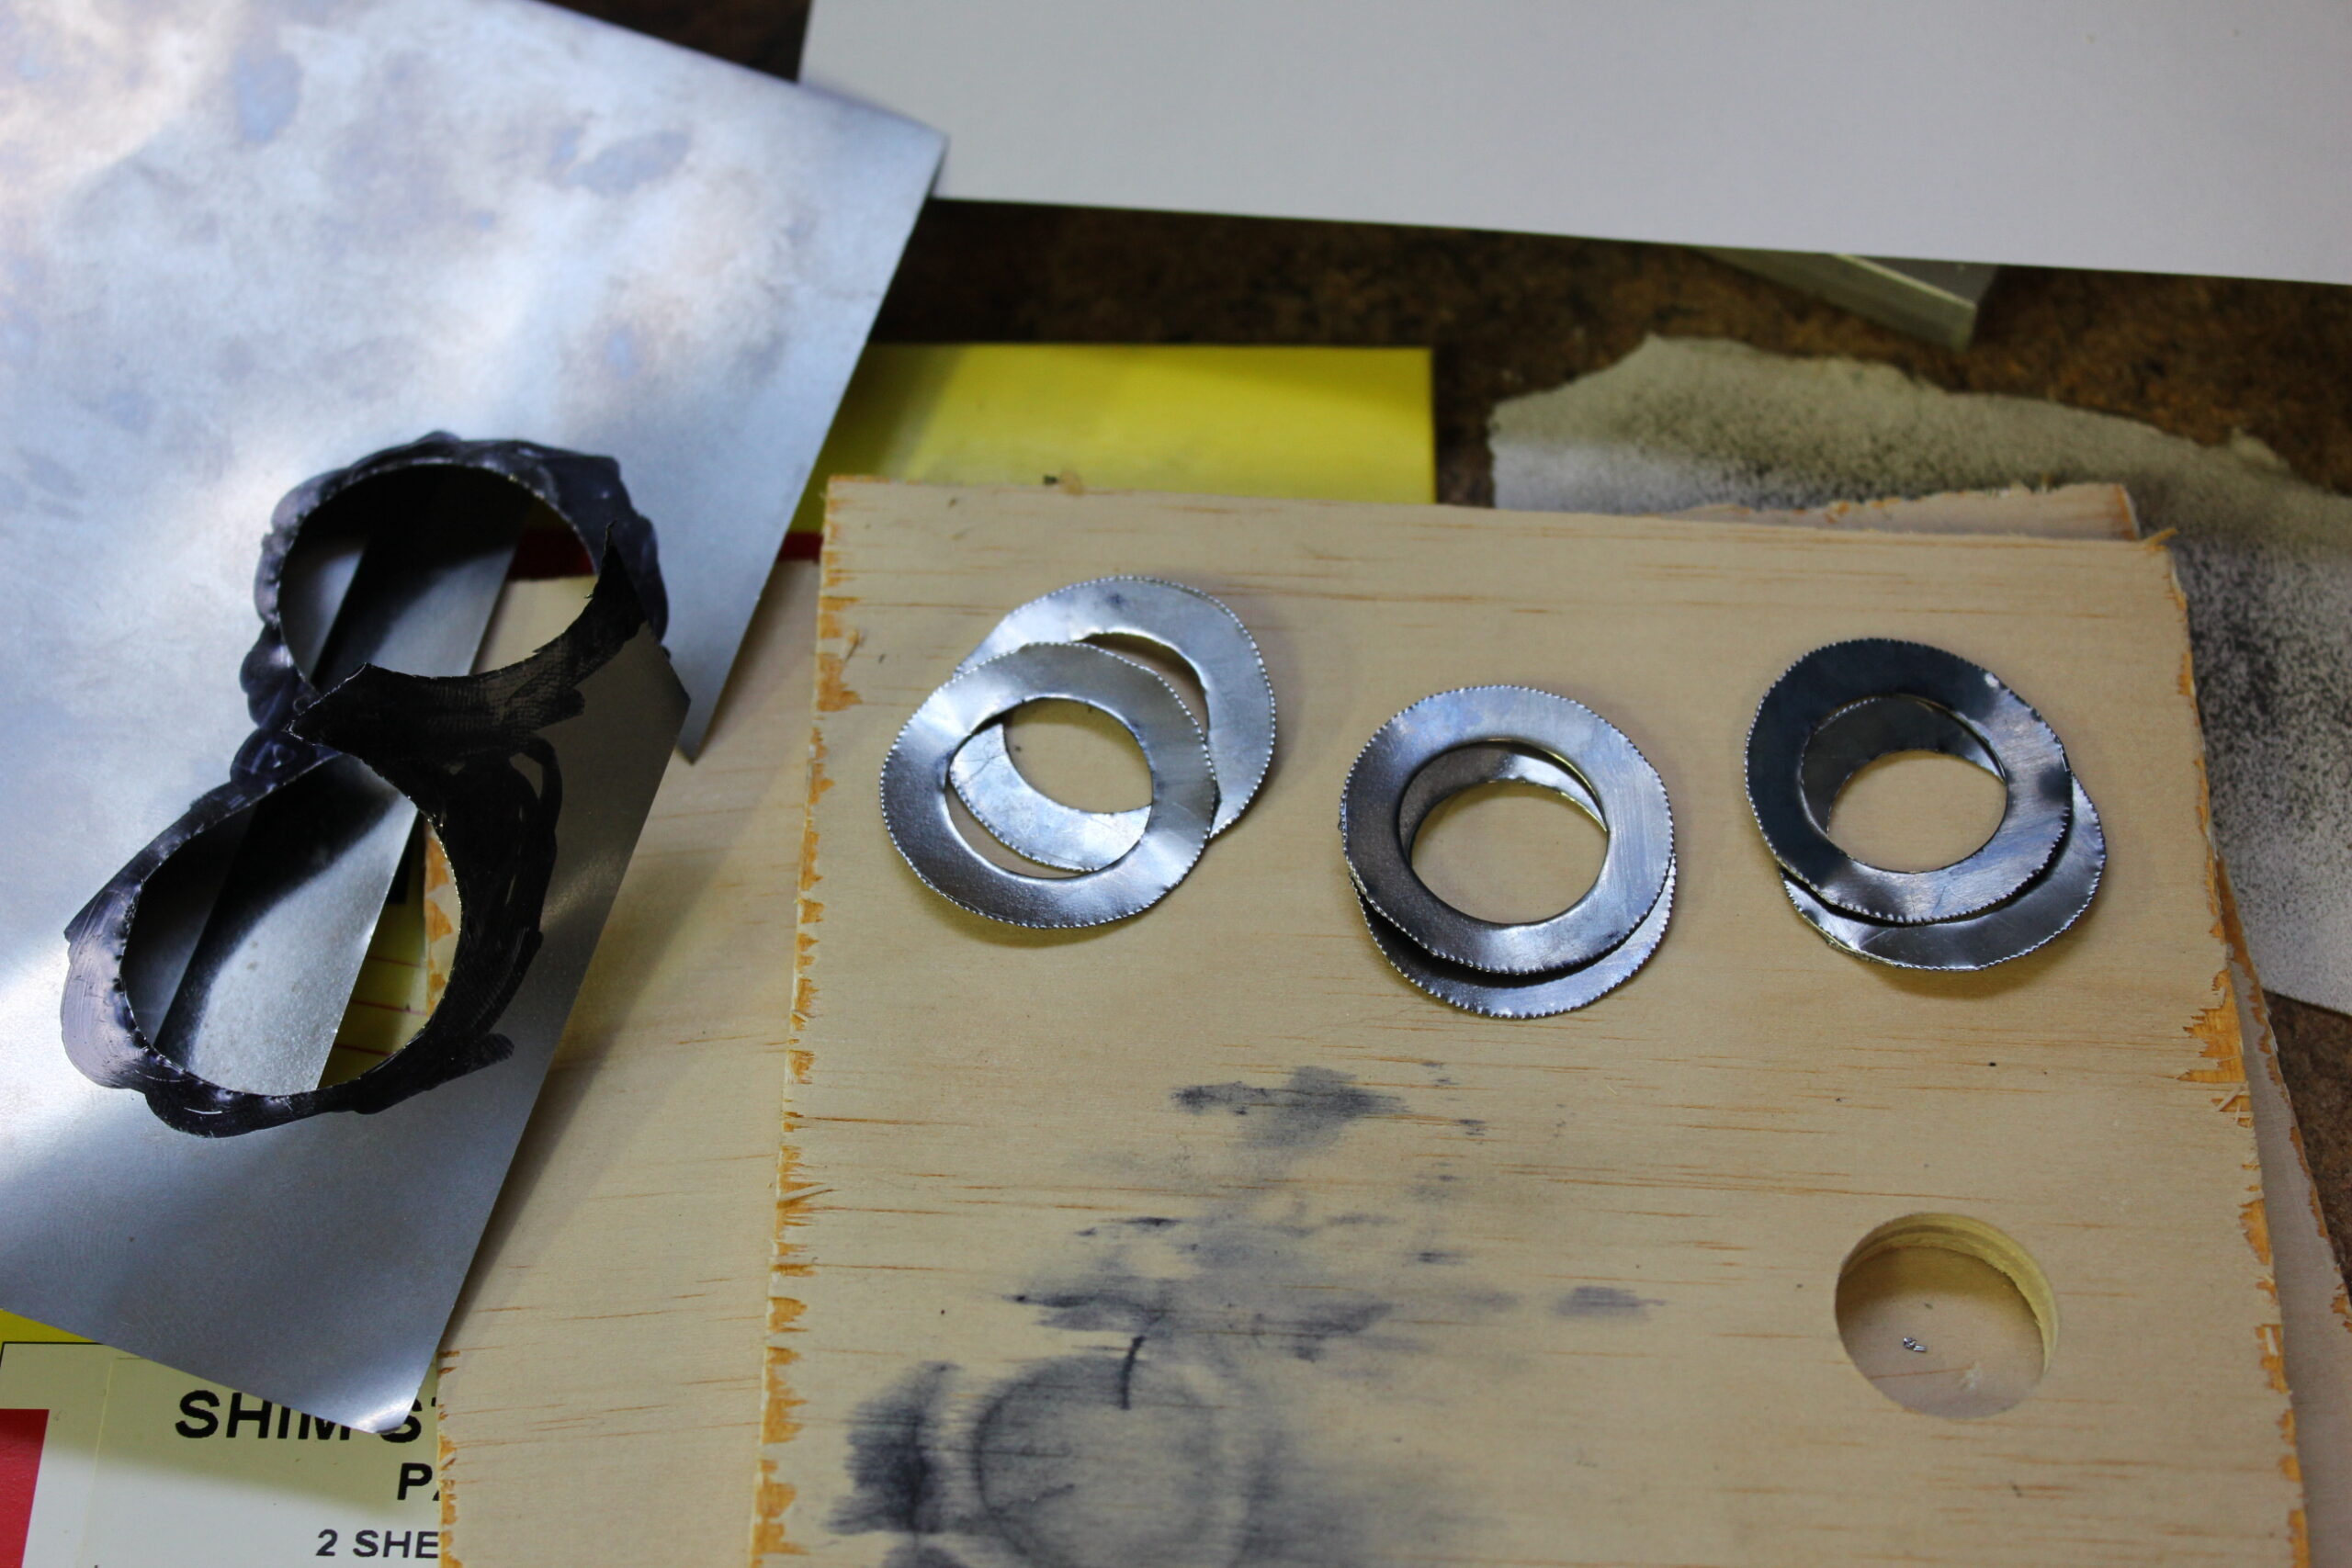
How to make a hole in a 0.002” thick sheet of steel was the next challenge. I solved that by sandwiching the shim stock between two pieces of ply and drill a hole the correct size with a wood drill. I then cut around the outside shape with a pair of tin snips. The end result was enough spare shims to ensure that I was able to get the measurements that I was looking for.

Main bearing clearances I had previously set so please see my earlier post on this.
Piston Ring Clearances
With those jobs out of the way, it was time to button up the bottom end. This time, for the final time.
I have seen many “expert” YouTube engine rebuilders assembling engines without checking piston ring gaps. Ring gaps are important. Not enough gap and the rings could close up when they get hot. This can cause the ring to break. Too much gap and engine compression can get past which will cause power loss, hard starting and poor performance.
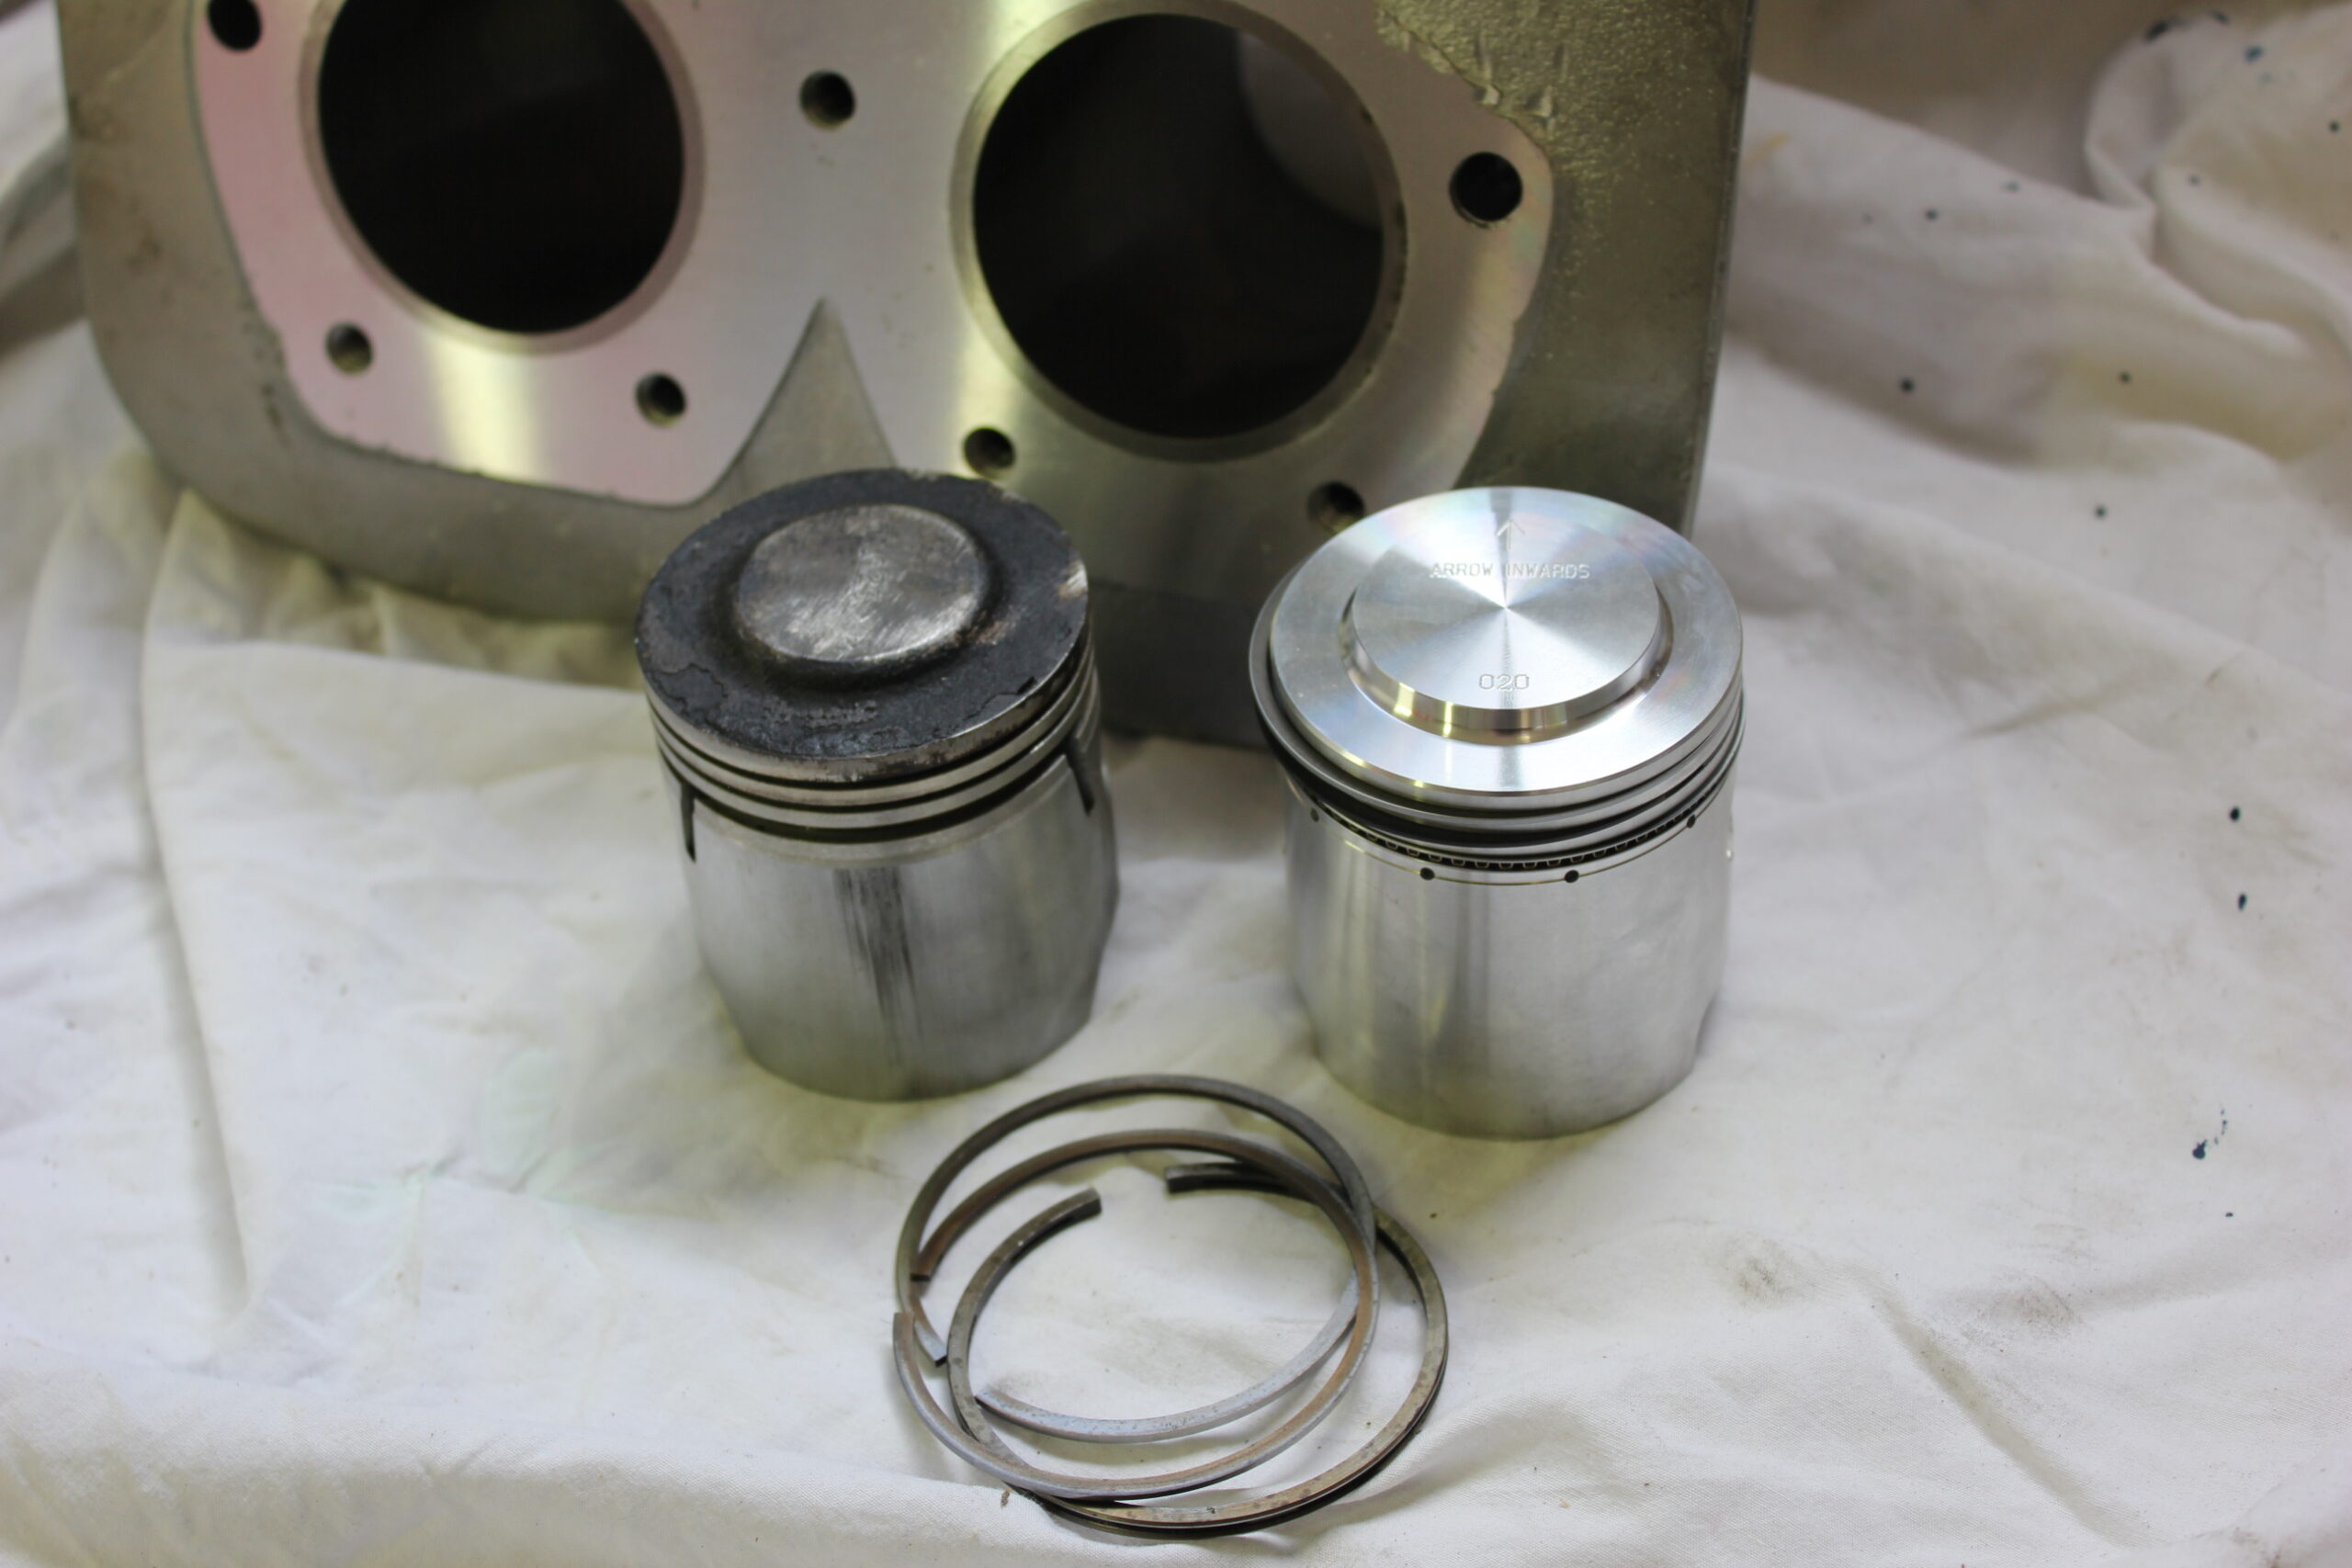
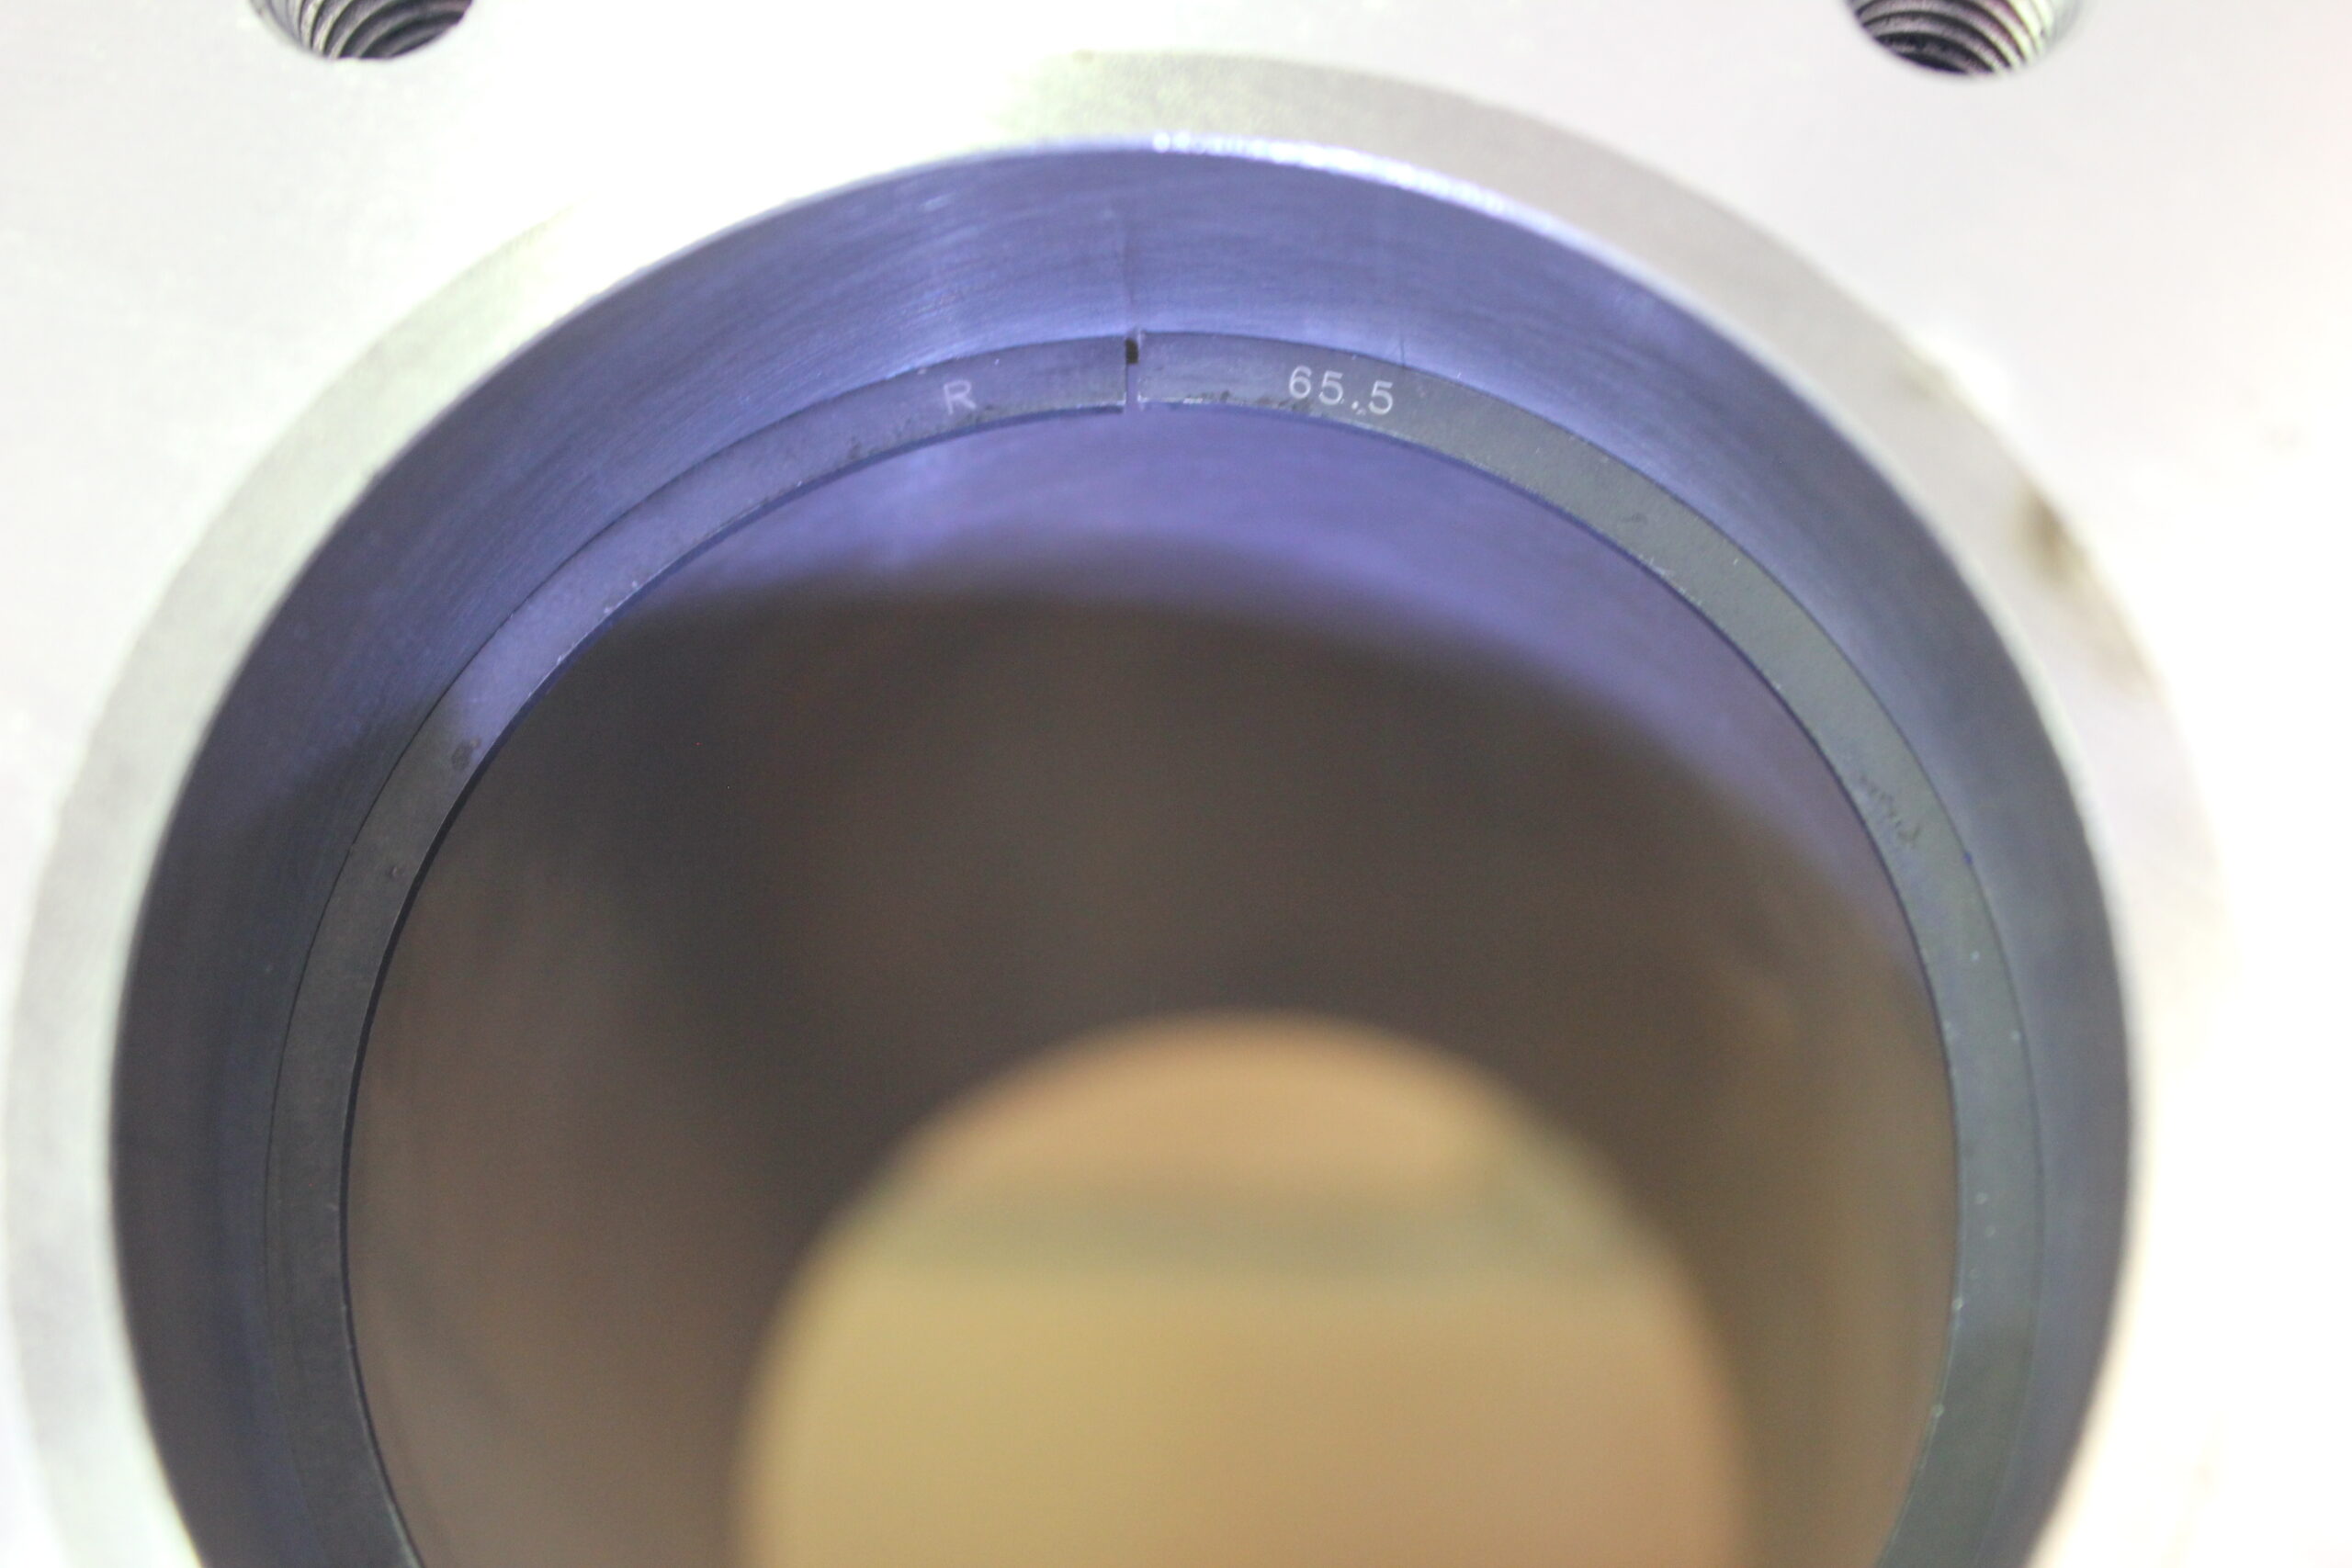
Used bores are not straight. Due to the load caused by the power stroke of the engine cycle, bores experience more wear at the top compared to the bottom of the stroke. They also tend to wear in a slightly oval shape.
When checking ring clearance, push the ring down the bore using one of the pistons. Using a piston will keep the ring straight in the bore. Push it down until just past the oil ring land on the piston. This will ensure that the ring is below the maximum wear area. Measure the gap with a feeler gauge and compare to specifications. For my Ariel Square Four, this measurement is 0.012” – 0.017” for the compression rings and 0.015” – 0.020” for the oil ring. If they are too tight, then the gap can be opened up with a ring filing tool or can be carefully done using a small fine file such as a points file. If the gap is too large, then you might be looking at a re-bore (or a turbo charger!).

Carefully fit the rings back on the pistons, making sure that the ring gaps are staggered so that the gaps are not aligned. Also do not have the gap on a thrust face of the piston. So they can be set at say, 2 O’clock, 4 O’clock, 7 O’clock or 10 O’clock looking down on the piston.
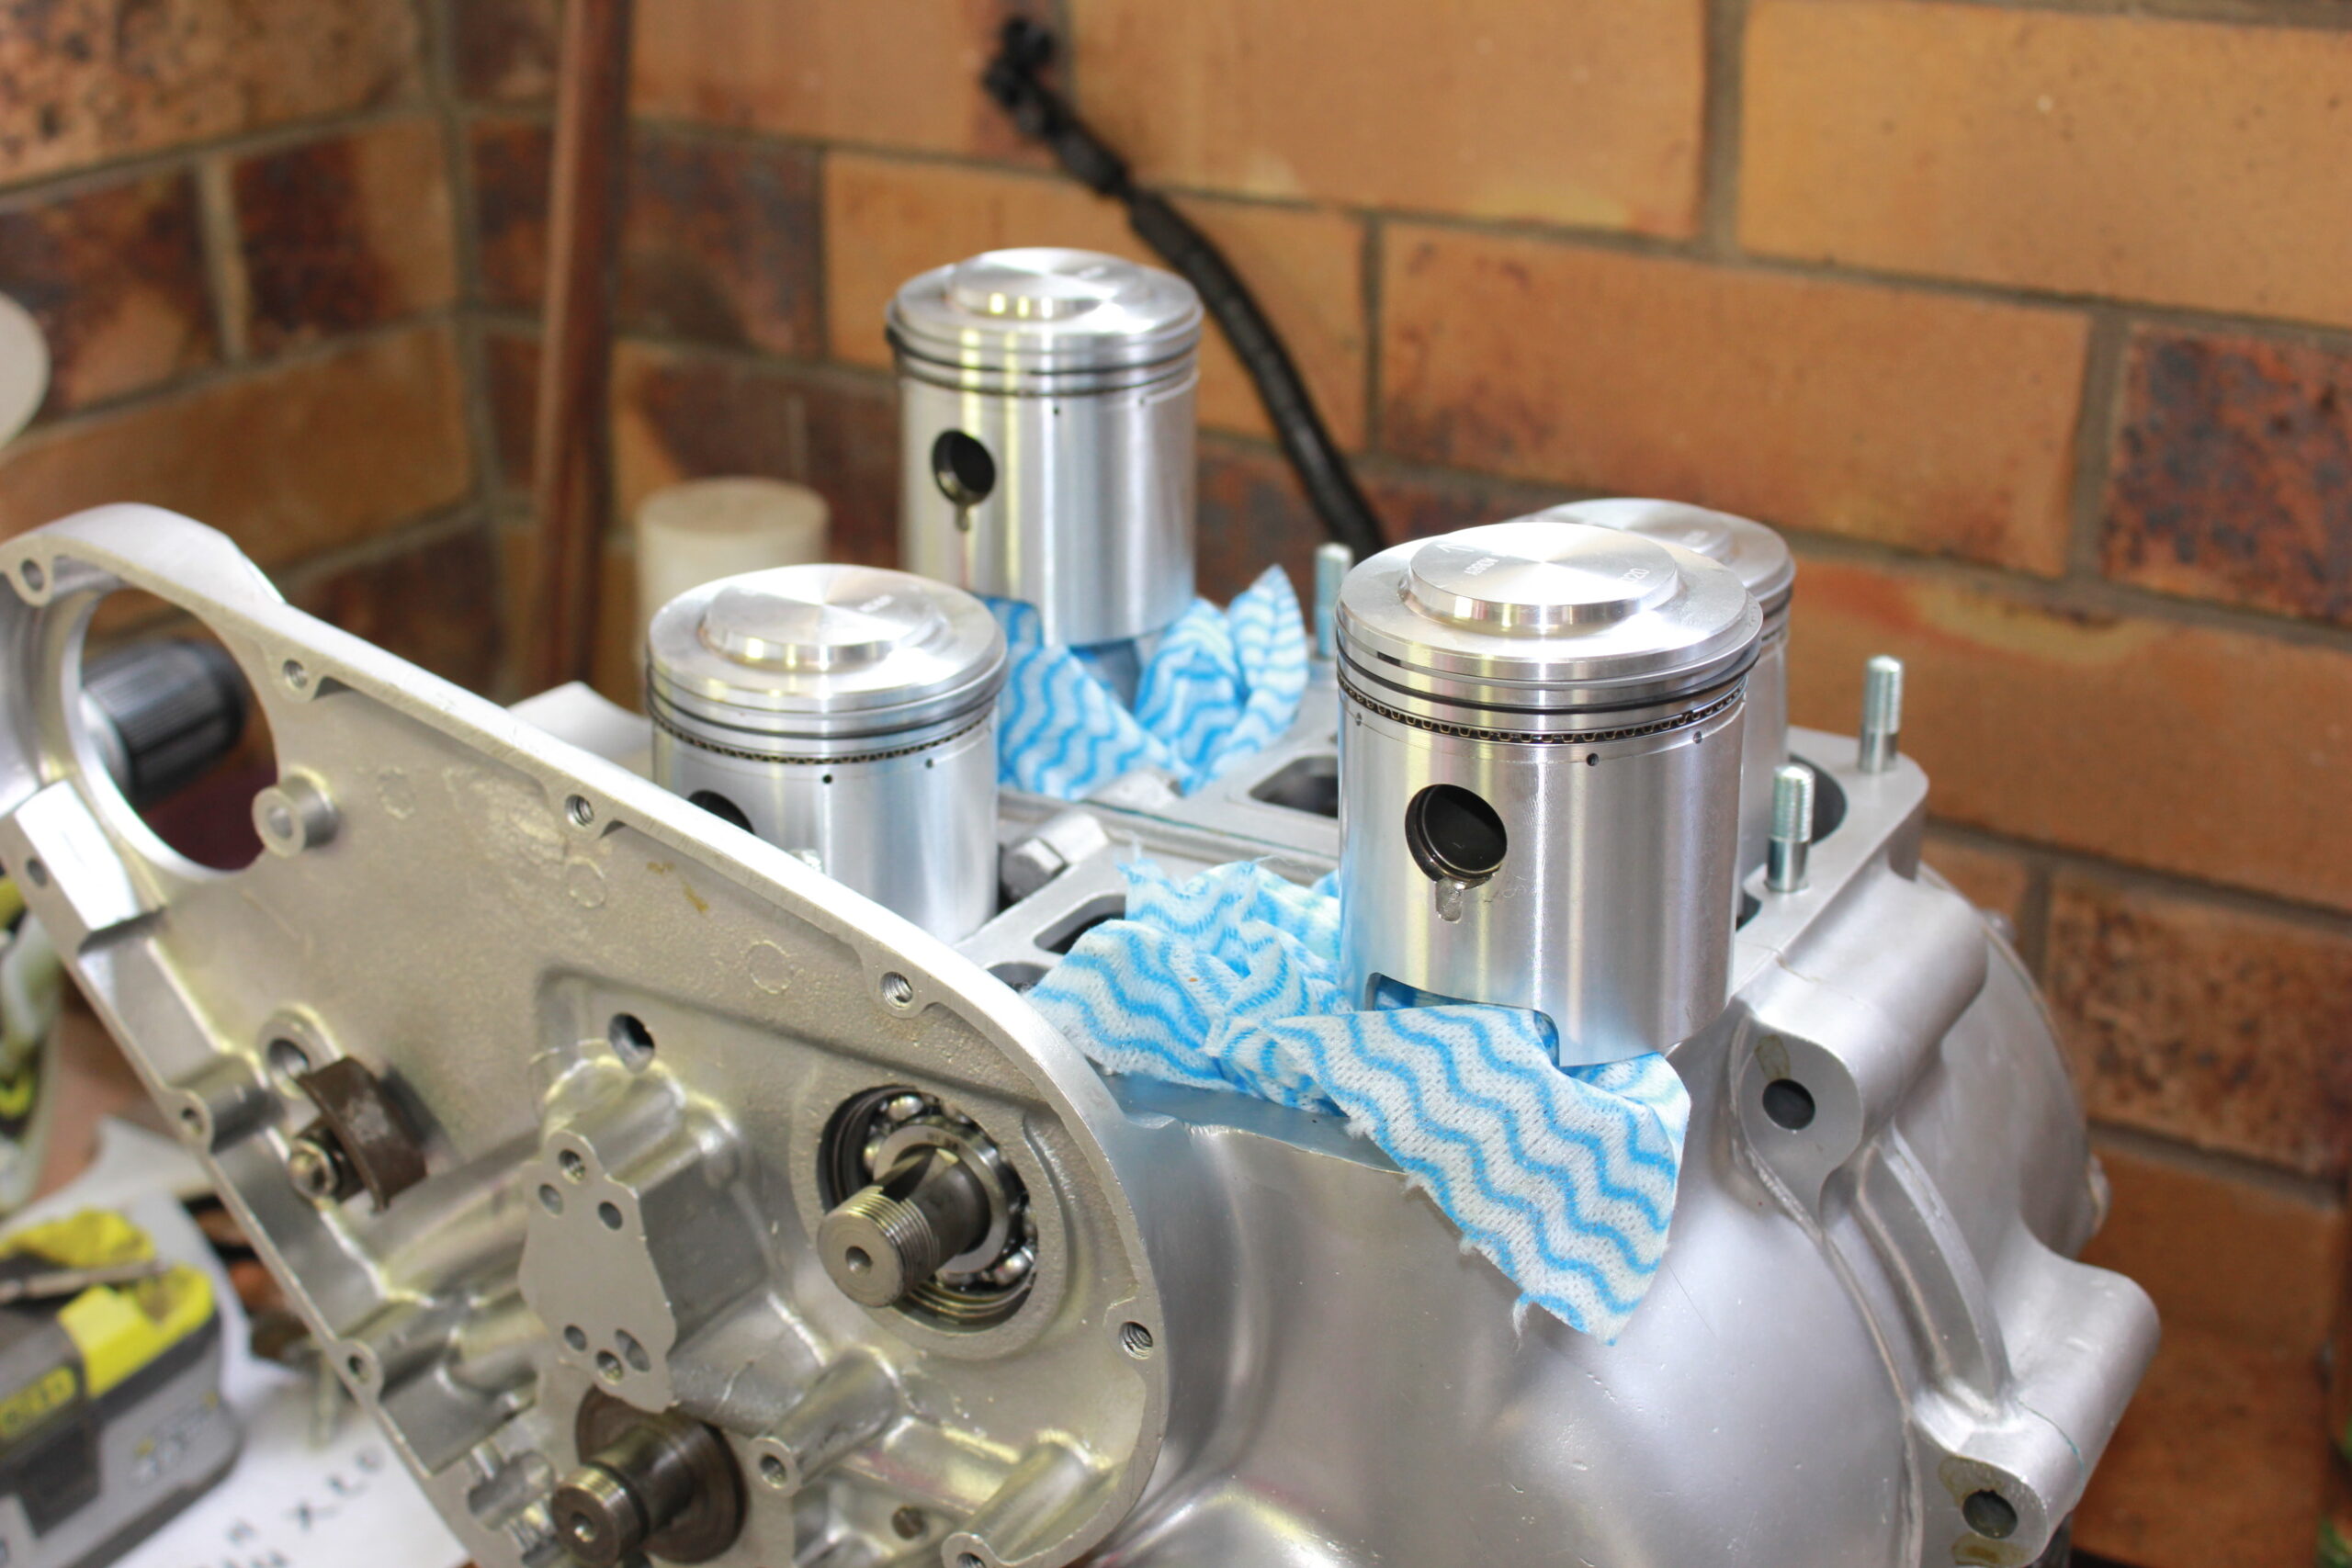
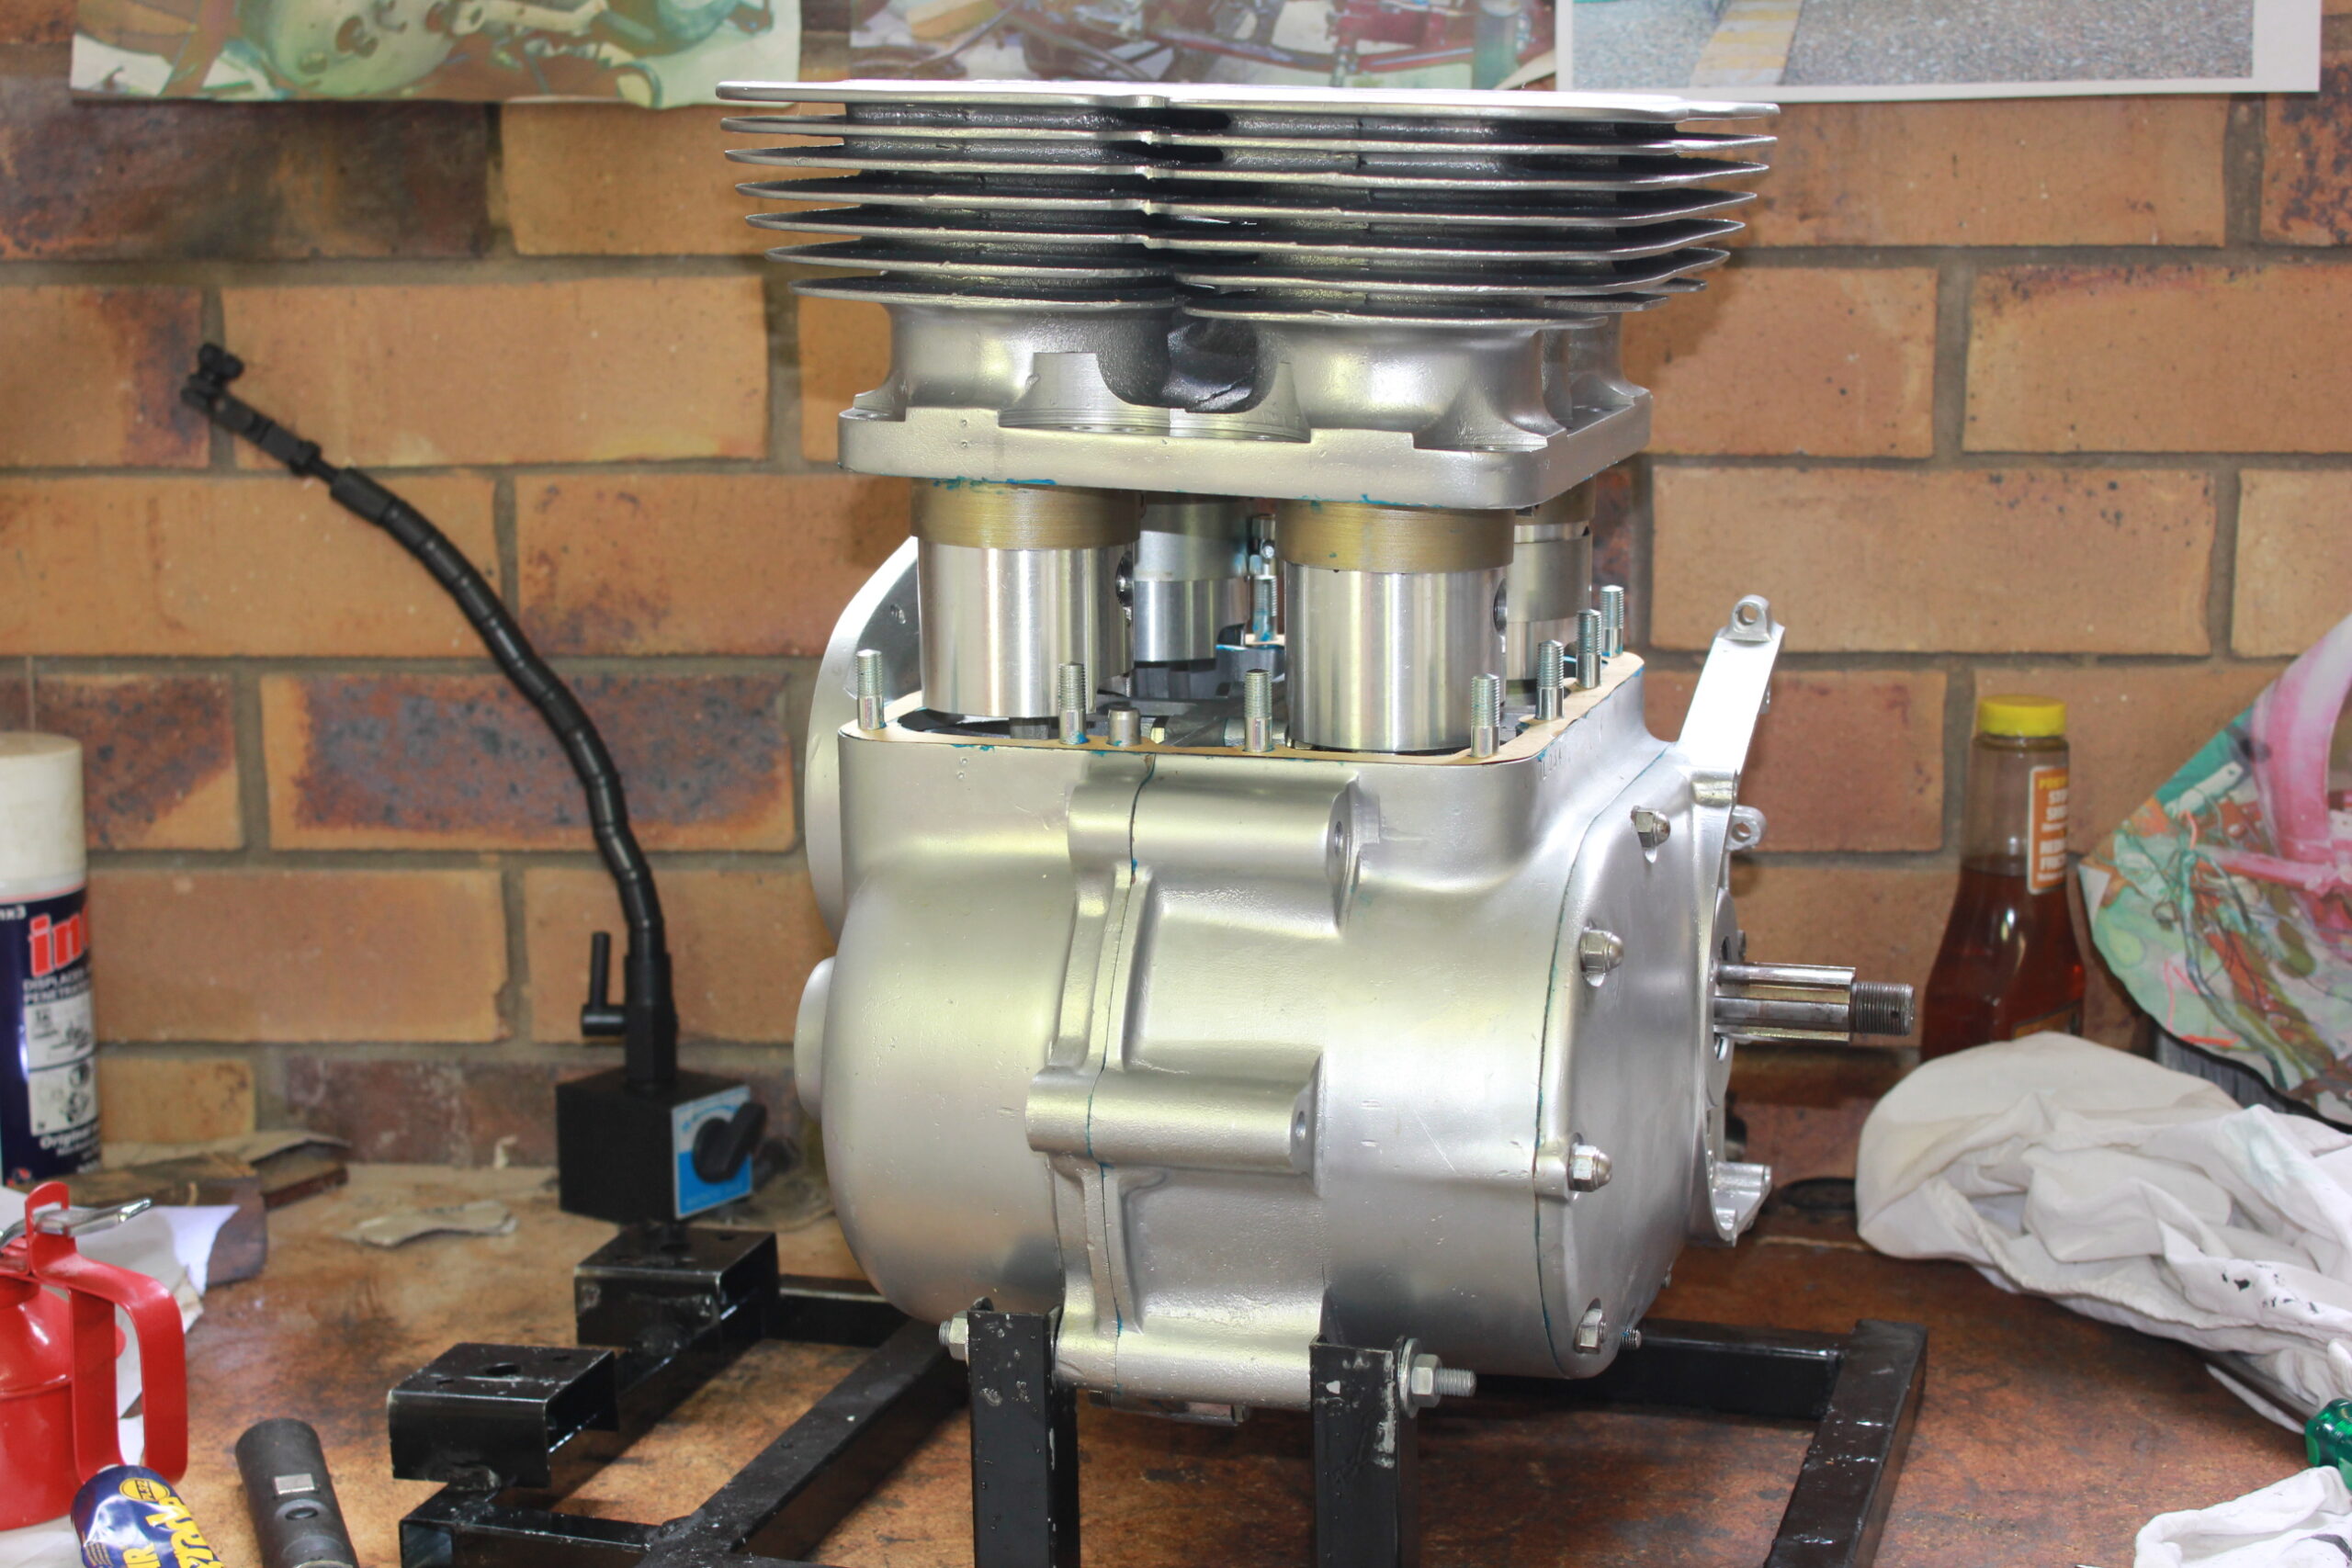
Fitting the Barrels
Fitting the barrels was a bit of a challenge doing it on my own. I used 4 exhaust clamps to compress the piston rings while gently sliding the barrels down from the top. I also placed some small strips of wood under the pistons in an attempt to keep them straight. Another pair of hands or some “safety beers” would not have done any harm. It was a bit of a job but I got there eventually. I am really not sure if the clamps and wood helped or not. If they did help, then I am glad I was not trying to do it without them!

Camshaft Timing
Last job to do was to set the camshaft timing. To do this, I needed to find top dead centre of No.1 piston. This entailed me setting my dial gauge to no.3 piston and find TDC with a degree wheel. Logical? Of course!

The reason for this is that the front crank is connected to the rear crank by a coupling gear. As there may be a small amount of play between the gears, and that the degree wheel is attached to the output shaft, it makes sense to locate TDC on the rear crank and then the front crank will be close enough.
With TDC located, the DTI is moved to the camshaft. In fact, we zero the DTI on the cam follower of No.1 cylinder inlet valve. Going back to our degree wheel, we rotate No.1 piston to 109 degrees ATDC. Now we can rotate the camshaft so that No.1 inlet valve is at maximum lift. These are the marks that I am looking for so now it is a matter of refitting the timing chain, the Morgo oil pulp and generator. Finally, the timing cover can be fitted. Job done!

Next Steps
While it is immensely gratifying to get the bottom end buttoned up, there is a level of frustration that momentum is being lost. The reason for this is that I am still waiting for valves and vale guides so that I can fit the cylinder head and finish the engine. These have been on backorder with Draganfly for almost a year now. Hot hint. What other global event has been going for a year now? No coincidence there and nothing I can do but wait.
I have ordered new tyres which will arrive in the next week and have started to fit some of the cycle parts to the frame. Also still waiting for the painter to finish his painting magic.