Happy Birthday Ariel
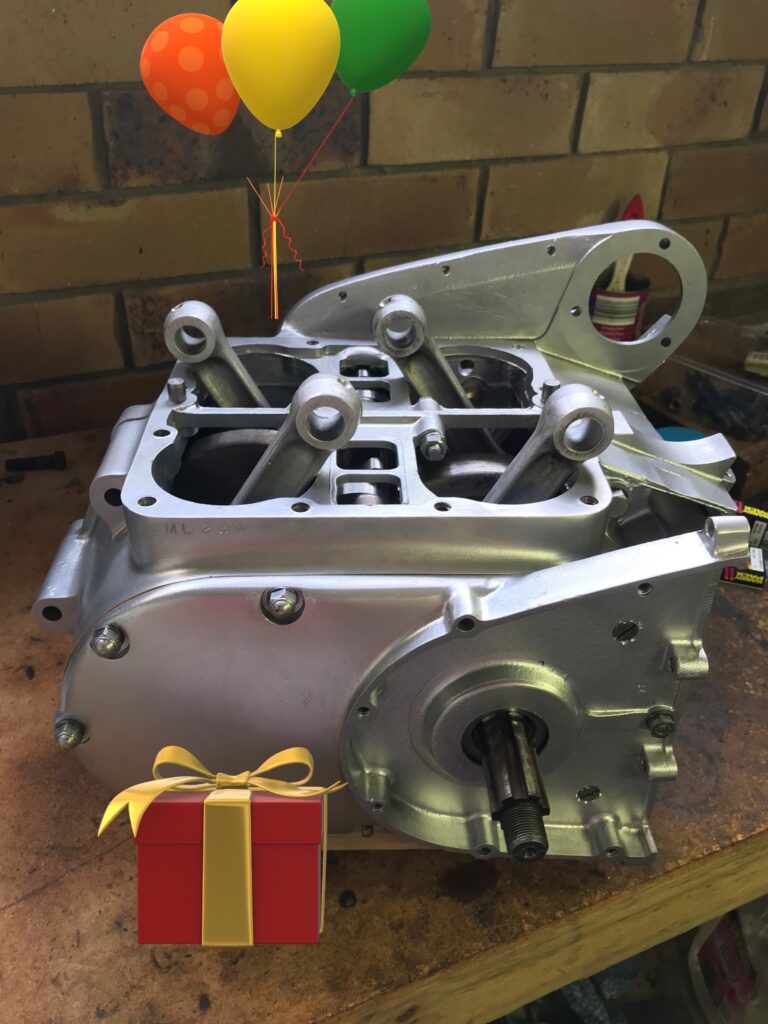
November 26 1955 saw this Ariel Square Four roll off the production line at Selly Oak, Birmingham, England. Happy Birthday Ariel! One of my many broken promises to my Ariel was that we would be on the road for the birthday celebrations. Maybe next year.
Assembling the bottom end
I have made some good progress in assembling the bottom end. The crankshafts have been fitted to the engine cases. The conrods have been fitted as has the camshaft.
An important job at this stage is to refit the oil gallery plugs in the crankshafts. It is vital that the galleries are clean. It is even more vital to refit the plugs or there will be no oil pressure. Not ideal.

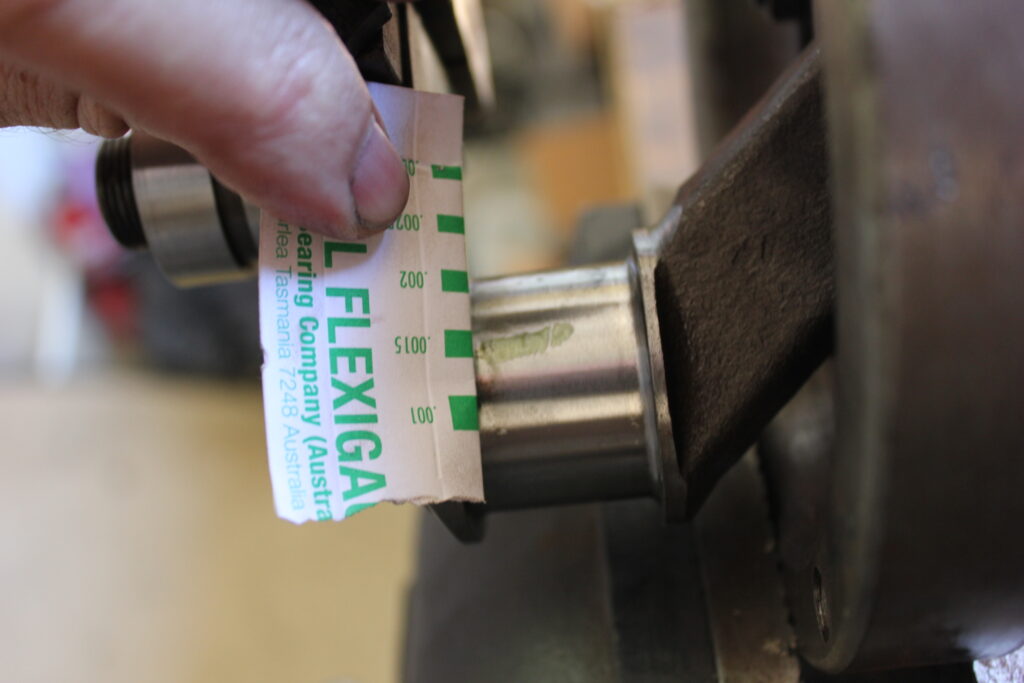
There was a small hold up waiting for the requisite number of main bearing shells to arrive from UK after my original order had been short shipped. These duly arrived and I was able to test the bearing clearances against specification. Except, of course, there are no specifications for this in the workshop manual.
Flashback to those long hours of night school as an apprentice, all those years ago and it seems that some information we were taught did indeed stick. One such rule of thumb was to allow 0.001” of bearing clearance per 1” of crankshaft journal. So we are looking for 0.013” or thereabouts. I trust the math of the engine reconditioner but it is always a good idea to double check the parts being provided as sometimes things go wrong in the manufacturing process. In this case, all of the tolerances were fine. New nuts fitted and tightened to the correct torque. “Click”. Done!
Not all plain sailing
Everything in this build has been a step forward and two steps back. Or so it seems. Not at all plain sailing. I had a couple of SNAFUs with the bottom end. First was one conrod main bearing cap was tight and did not feel right. I swapped rods to a different journal. I swapped shells and then just one shell with another rod to try and understand the issue. Making a change and rechecking the results is time consuming, but it allowed me to isolate that the issue was relating to the cap itself. I ended up turning it around 180 degrees and tightened it up again. This time, perfect! No idea why that should have made a difference, but it did and it is fine now.
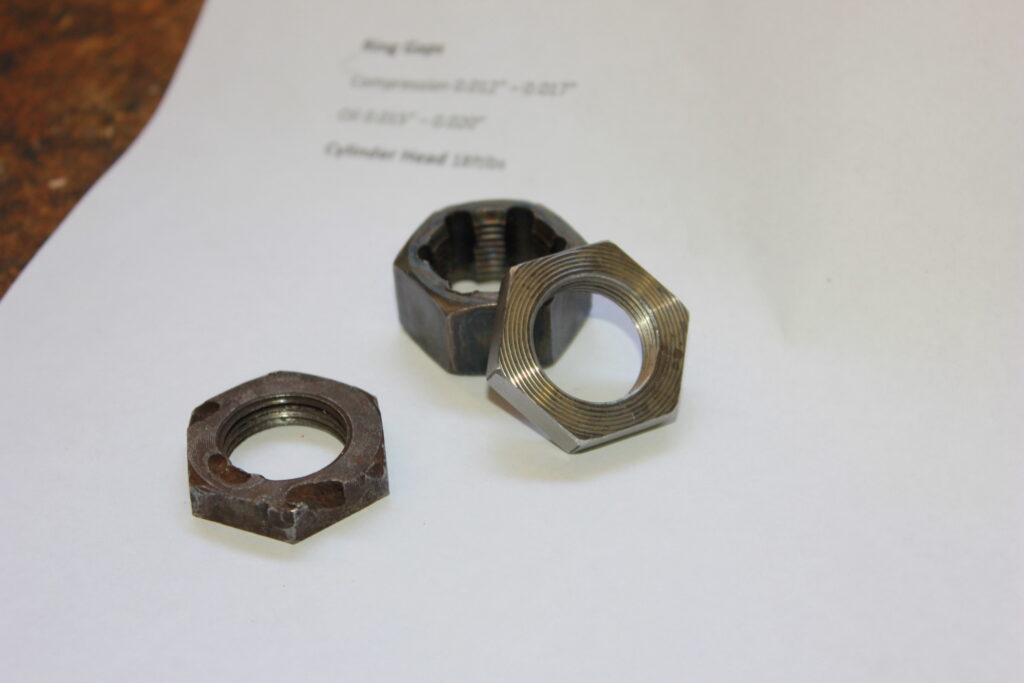
The next issue that I came across was that the crankshaft nuts were damaged on their threads. Finding replacements for these turned out to be mission impossible. In the end, Lynton, who did the amazing job of welding my alloy cases, came to the rescue and was able to make me a new set of nuts. I was able to find a die nut to chase the crankshaft threads and ensure a good fit with the new nuts.
Crankshaft End Float
The two crankshafts have to be checked for end float. This is done with a dial gauge and the rear crank has slightly more end float than the front one. Shims on the timing chain side of the crankcase adjust the endfloat. By swapping the shims that were already there, I was able to get both crankshafts within specification. Another major step forwards!

Next Steps
I still need to time the camshaft and cannot do that until the barrels are complete. New pistons are on order from the UK, so once they have arrived, the engine reconditioner will bore the cylinders to spec. Measuring the bores found that they were standard and within factory tolerance albeit at the far end of tolerance. For that, I have decided to go for an oversize piston and will have the cylinders bores to ensure that they are parallel and round.
In the meantime, I will fit the Morgo oil pump. At first glance, this is not quite a straight swap for the old one so I can see some more hours of head scratching and tea drinking coming up.